
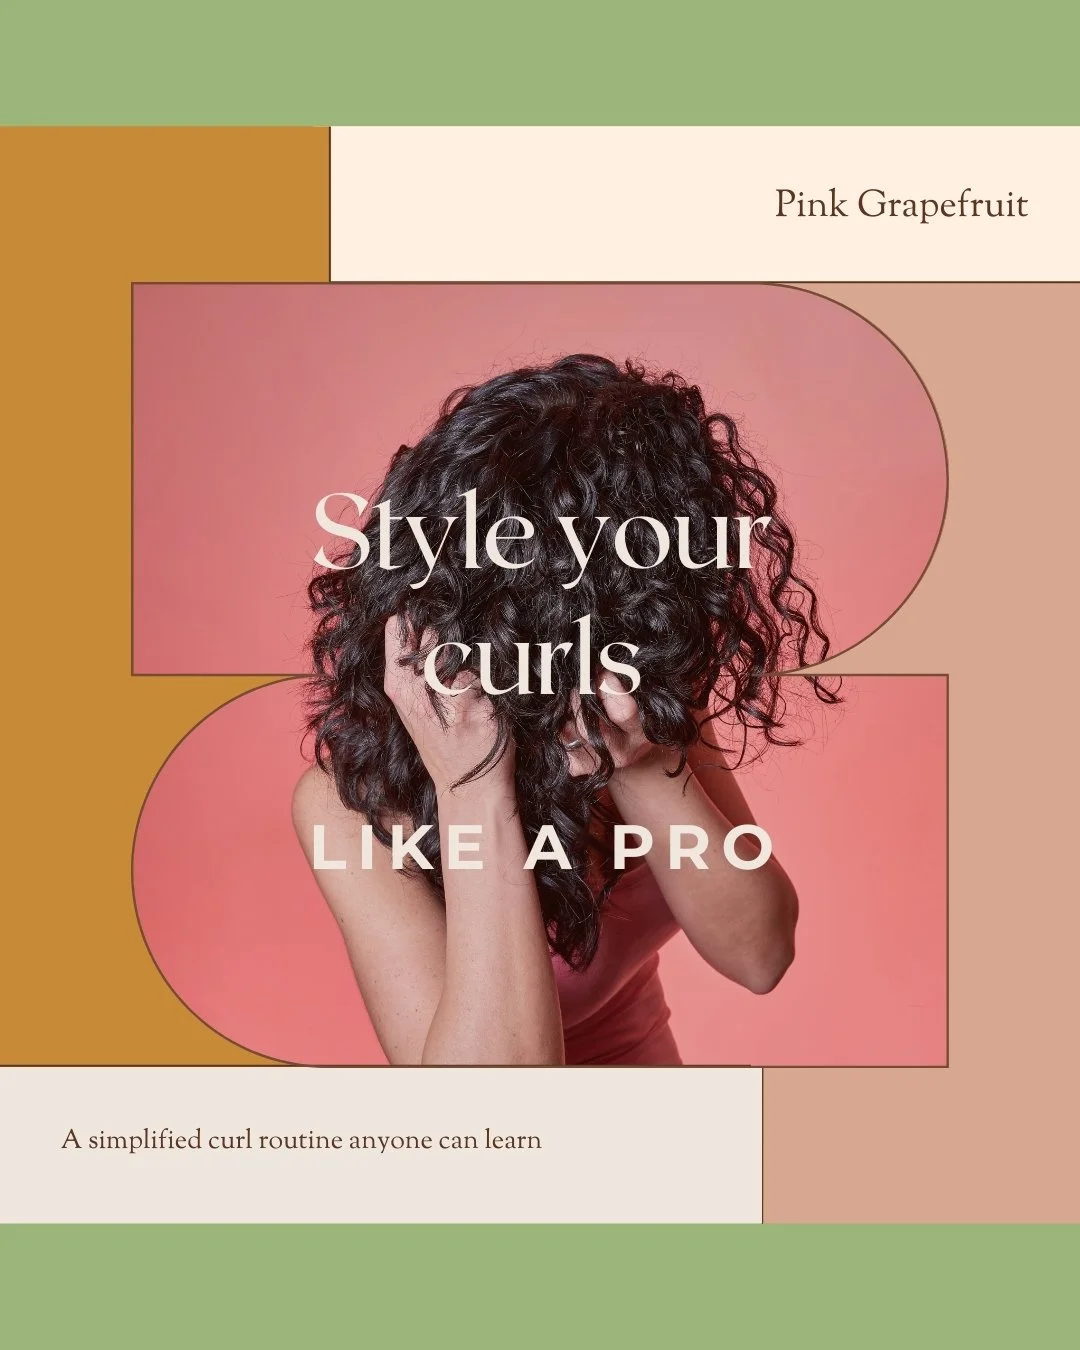
Style your curls like a pro
In the year 2025 it barely seems acceptable that we don’t have flying cars, so how is it that something seemingly as simple as styling our curly is still eluding us?
When I look at a year of new client intake forms it’s easy for me to spot the common theme- most of my clients didn’t grow up with a parent who understood caring for and styling curly hair. Even if they have a parent with curls, their parent most likely left their curl skills in the 80’s and 90’s with perms, and in the aughts those skills were not up to par with the flat iron craze that descended on the decade. The majority of my clients are 35-55, and spent their adolescence straightening their hair to fit in, or wore it back because although they had “poofy hair”, they didn’t realize they had curls. Or, if they did figure out that they had curls, the internet and books led them down complicated rabbit holes of co-washing, no washing, plopping, demi plopping, wet plopping, pineappling, finger ribbons, LOC/LCO, ultra hydration methods, etc. I could type for hours on the ridiculous amount of misinformation there is on curls and what they require, but I don’t want to sit with my butt glued to my desk all day. Instead, I want to show you a super simple guide that anyone can execute for themselves or for someone they care for with curls (and waves, and coils). Take it from me, a person with stick straight hair to had to figure this out for themselves through years of trial and error in the early 2000’s- if I can master styling curls, you can too! I believe in you! Although I have a 6 step guide above, keep reading for the condensed version- perfect for curl newbies or novices looking to pare down their routine. This method is bare-bones, and is designed to work with your curls in their most natural form. The amount of hold and elongation your curls achieve will be wholly dependent on the amount of product and water you use, and whether you choose to air dry or diffuse. All you need is shampoo, conditioner, and one product that has hold, and your hands. Everything else is just sprinkles on the cake. Start here, and once you’ve mastered the mechanics you can start down the wild world of youtube hair tutorials.
Tools Needed
Shampoo
Conditioner
Gel or Foam*
Towel- any flat weave towel preferred, but terry is better than nothing :)
Non Essentials
Clips
Detangling Brush
Blowdryer + Diffuser
Spray Bottle
Step One- Lay the Foundation
Wash and condition your hair. Yes, shampoo is the first step! And I want it to be actual cleanser thats creamy, bubbly, and removes dirt, oil, product residue and debris. Why? Clean hair absorbs water which reduces frizz, elongates the hair, hydrates the cuticle layers, and aids in styling. I always begin my clients style with a clarifying detox, and am always amazed at how much better the hair performs. See my recent post on how to shampoo better for a deeper dive. For the short version- rinse your hair well, and shampoo as many times as it takes to produce squeaky, bubbly hair from scalp to tips. Once your hair is nice and clean, apply your conditioner and distribute evenly from scalp to ends. This is the perfect time to begin combing to remove shed hairs, and ensure all knots have been removed. If you like, you can scrunch your hair with the water and conditioner to help it reach deeper into the cuticle layers. Now, rinse all of the conditioner out. Conditioner residue can weigh hair down, and make your subsequent products not perform to their fullest.
Step Two- Add your product
On very wet hair- think dripping wet- start applying your product of choice. To keep it simple, use a gel if you like to go 2+ days before washing again, or use a foam if you like less hold, more volume, and wash more often. When adding product, emulsify it into your wet hands before smoothing into your hair. I use enough that the hair begins to hold wet ribbons that remind me of ramen noodles. You can use your hands or a detangling brush to work the product through your hair, just make sure that you’re going all the way from scalp to the ends. If you find your hair doesn’t want to clump, try adding more water to your hair. If you want more lift, do this with your head upside down. If you have tight coils I would recommend using a clip so that you can work with smaller sections. Fair warning, this can be messy!
Things you can try to keep it less gloppy:
apply product in the shower
put an old towel on the floor to drip on
wear a towel around your shoulders
*If your hair is tangling, or feels hard to work product through, you can use a small amount of curl cream or spray detangler with lots of water to help smooth down the cuticle before adding gel. This can make the gel less “crispy”, so use extra gel if you want a hard cast.
Step Three- Zhush and Go
Once you’ve added product to your entire head of hair, you can scrunch your hair to help bounce the clumps. Start by flipping your head over, cupping your hands like a bowl, and lifting your hair up to your scalp and ‘pulsing while squeezing’. Your hair should sound very squishy, and you should see bubbly hair product between your fingers. If your hair isn’t doing this, you may want to add more water and product to ensure hold + shine. If you’re concerned about frizz, look at your hair in the mirror- if it seems frizzy, add some water and brush the section or smooth it with your fingers. Then finish by air drying or diffusing, which I’ll cover in another post. Once dry, you can break the cast for more volume, or leave it and allow it to soften overnight.
And there you go- a super simplified curl routine. If you’re new to your curls, I’d recommend doing this 2-3 times a week with the same products before adjusting your routine. From there you can experiment with using different amounts of product, and different drying methods. Most clients really can get away with using one styler as long as they use enough for the density of their hair, and the amount of days they’d like to go between washes.